Sometimes you just need one portion of your document to be landscape instead of portrait. Other times you may want some of your text to be rotated. Is there a way to do this on Word? The answer to both of these questions is yes and I’m going to show you exactly how to do so with simple, easy to follow steps. Ready? Let’s go!
What’s on this page:
Rotate a Word Document
Rotate the Page
Rotate Just a Portion of Text
Rotate a Word Document
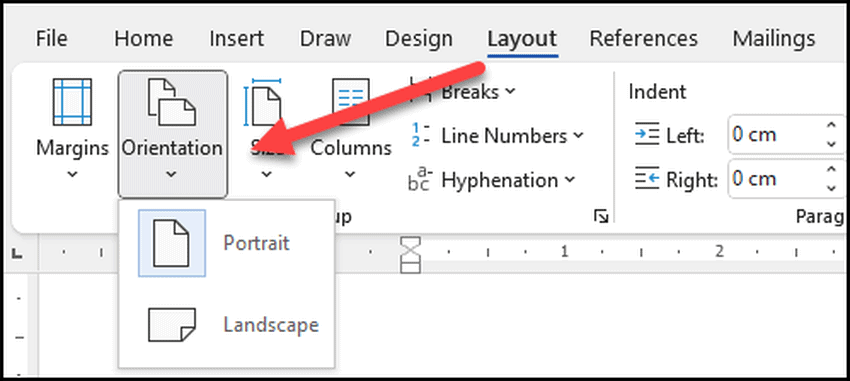
If you want to change the entire layout of your document, all you have to do is to navigate to the Layout tab in the ribbon and click on Orientation. There you can choose either portrait or landscape:
This will affect the entire document so it’s not a good solution if you want to have a specific page in a different orientation.
How to Rotate the Page on Word Document
If you want to rotate just a page or few pages in your document then you have to use a different method. In order to do so, do the following:
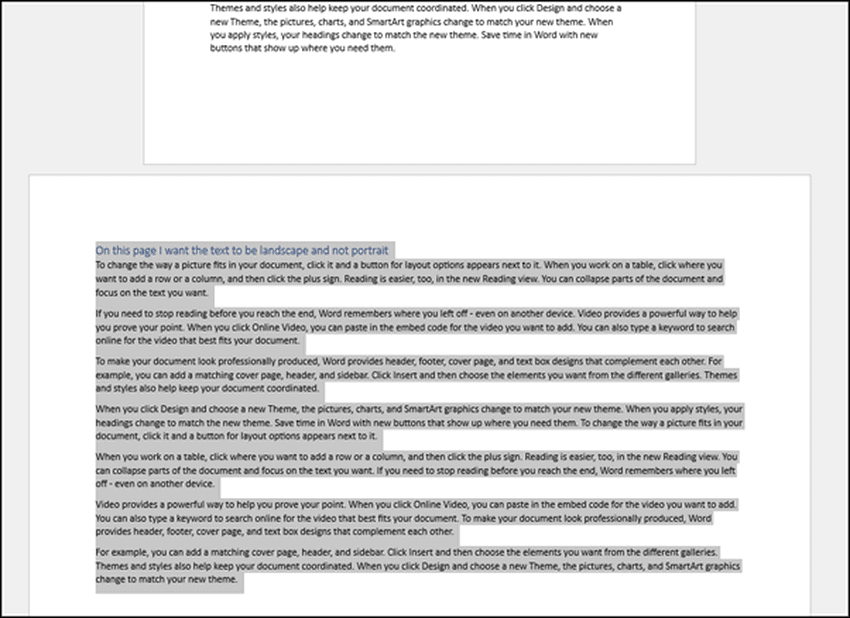
- Highlight the text that you want to change the orientation for. In this example I am going to do so for the entire page:

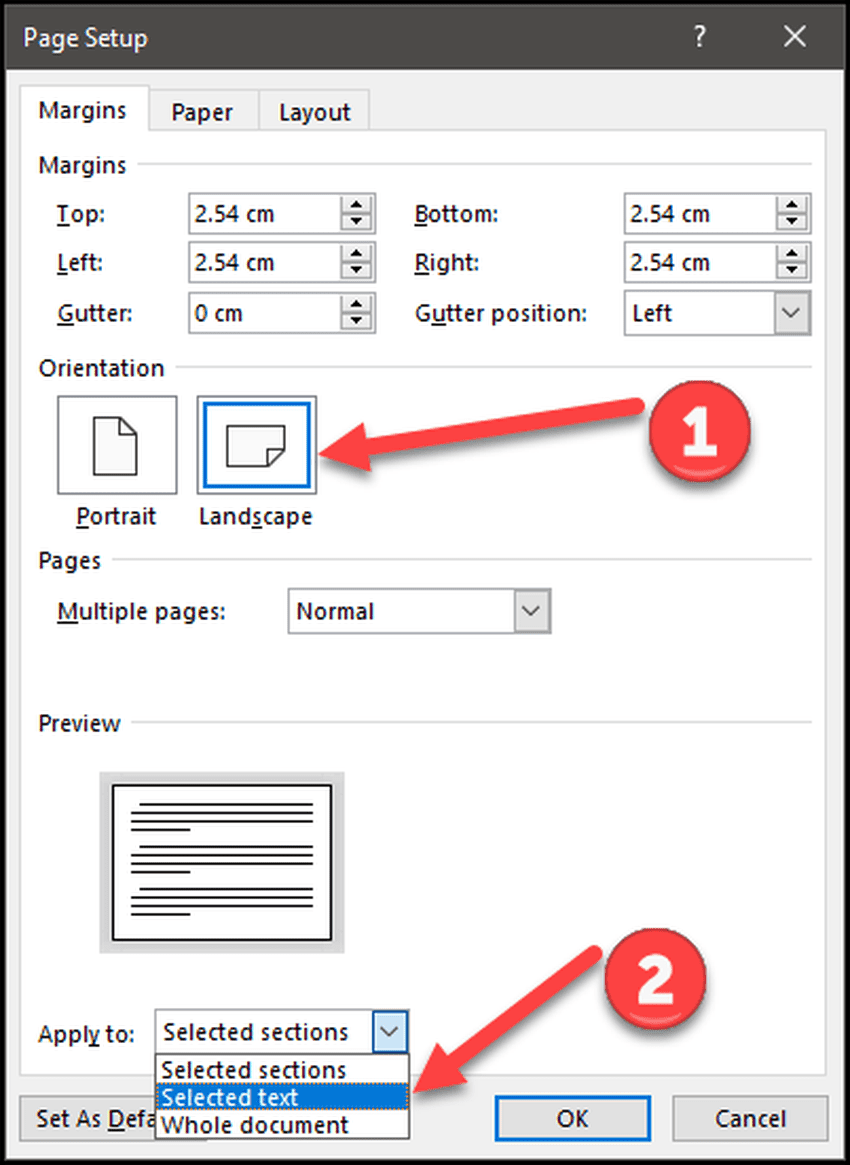
- On the Layout tab in the Ribbon, in the Page Setup section, click on the little arrow in the corner to bring up the dialog box:

- On the Page Setup pop-up dialog box select landscape and then in the Apply to section choose Selected text:
- Press OK and you will see how your document has rotated the way you want:
Rotate Just a Portion of Text
To know how to rotate text in your word document it’s important to know that you cannot do so in a normal setting. By this I mean that you have to first of all ensure that your text isn’t in the normal place where you write. You have to use a text box and then rotate that. This is the way to rotate text in word. If you want the whole rundown of how to use text boxes to make them work for you, please check out that specific post.
In order to rotate text in your document do the following:
- On the Insert tab in the Ribbon, click on Text Box and select Simple Text Box:

- (If you want you can just draw a text box from the Insert > Shapes menu.)
- Type the text that you want to rotate into the box.
- On the Shape Format menu in the ribbon (that appears if you have selected the text box check the settings. I don’t want any border in my text box so I’m going to remove it:

- At the top of the text box, you can see a rotation circle. Simply click and hold this and then drag the text box around. This will rotate your text in the document:
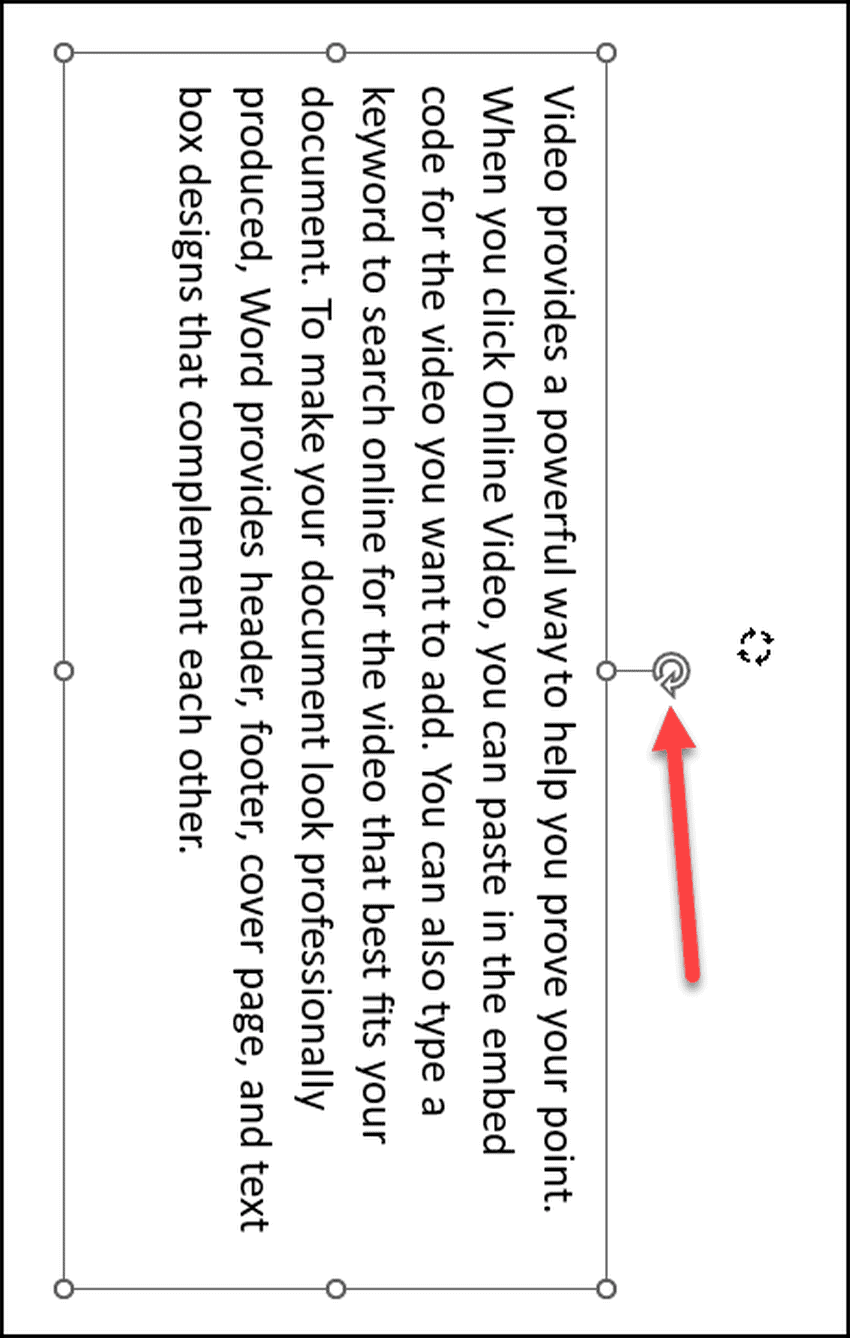
- You will notice that the mouse has changed and now looks like four rotation arrows forming a circle.
In Summary
In this post I’ve gone through the different steps both in how to rotate a word document as well as how to rotate text in word. I hope you have found it enlightening and easy to follow. If you have any questions or comments, please let me know in the comments section below. Good luck!