Perhaps you may have never even heard of what a section break is and how useful they can actually be. In this post, I’m going to show you what a section break is, why you need to know about them, and of course, how to actually use them to your benefit.

What is a Section Break?
Have you ever had a document where you want some things to be formatted one way and others in another. For example, you may want some of the text to be in columns, others sections to have a border, others to have one type of header or footer, whilst others none at all. Well, for all of these issues, what you need to do is to split up the document into different sections.
What this actually means is that you have many different sections and parts of your document that can be formatted however you see fit. Let’s say you want some sections of your document to be in two columns and others in one, a continuous section break can be used to make your life a whole lot easier.
When is a Section Break Used?
Let’s say for example that I want to have two columns on certain sections of my document. If I just select the two column option on the Layout menu then the entire document will be split into two columns. This isn’t what I want. I only want the list section to be split into columns. Therefore what I need to do is split up the document into sections and by doing so, I can style them exactly the way I need to. Let’s go through an example below:
How to Insert a Section Break in Word
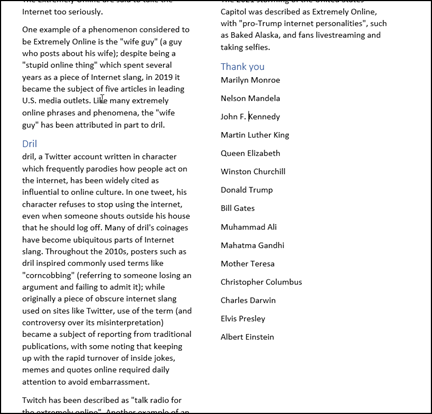
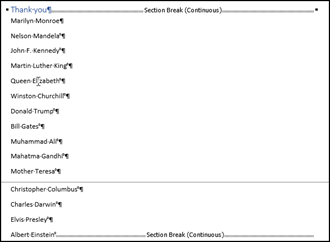
Go to the section that you want to be split up. In the example I’ve provided what I want to make into columns is only the names at the bottom of the document.

Let’s see what happens if I try to do so without a continuous section break
As you can see, the entire document has been made into two separate columns. That’s really not what I want.
Please note that you can accomplish the same thing as what I’m about to detail by simply selecting the area that you want and format it that way. However, if you are dealing with a lot of text across multiple sections of a document, this can be very cumbersome and time consuming. As well as this, one little false click of your mouse and you will have lost it. Therefore I don’t advise using this method unless you have something very small to do.
These are the steps to insert a continuous section break in Word:
- In order to see what you are doing, press the paragraph button on the Home tab:
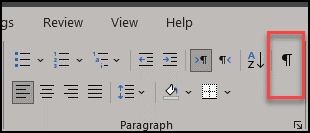
This allows you to see every space and paragraph on your document as a real item like this:
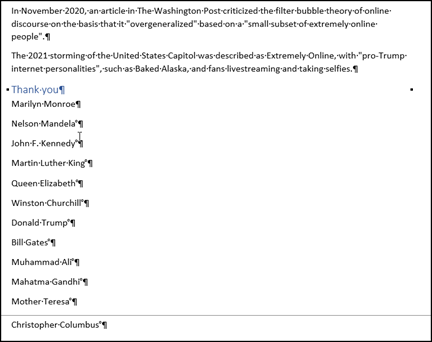
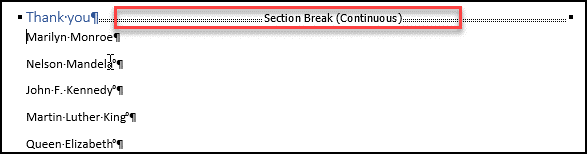
- Move the curser to where you want the continuous section break to start. In my case I want it to be just before the name Marilyn Monroe.
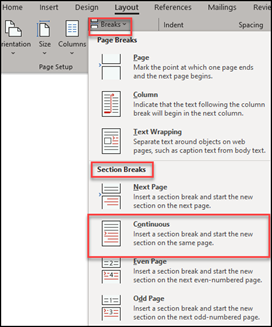
- On the Layout menu on the Ribbon, select the Continuous option from the Section Breaks bracket:
- You will see that a section break has been added:
- Now we need to repeat this at the bottom of the section to close it in:
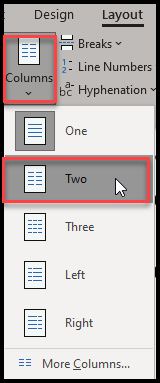
- Ensure that your curser is inside that section somewhere. It doesn’t matter where and then, on the same Layout menu in the ribbon, select Columns and Two:
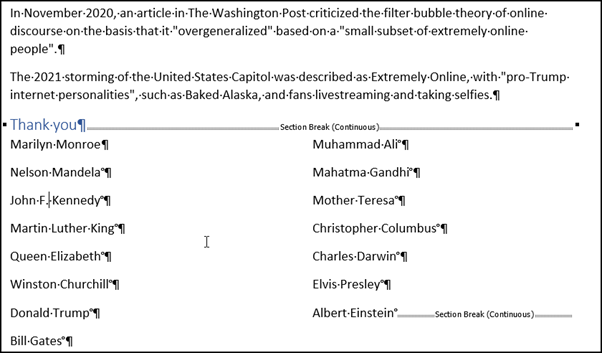
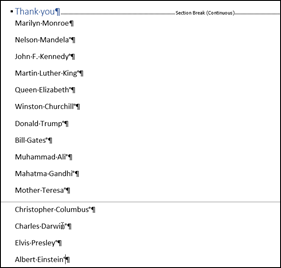
- You will see that just the section that you have just created has two columns and the rest of the document has remained in its status quo.
And that is how you create a continuous section break.
How to Delete a Section Break in Microsoft Word
It’s all very well to insert a section break, but how do you delete one. If you try highlighting the section break you will see that nothing happens. This can be super annoying. So here is how you delete a section break in Word:
- Ensure that you have got the paragraph button clicked so you can see where your formatting marks are.
- Place your curser immediately before the section break
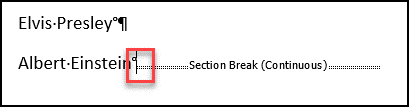
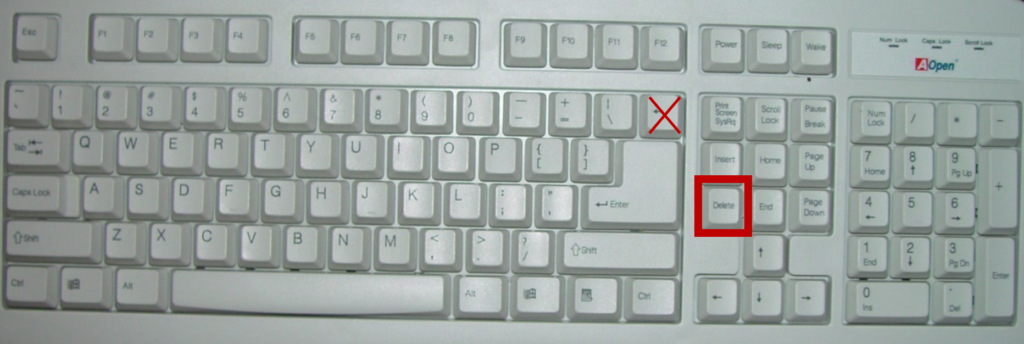
- Press the Delete button. IMPORTANT: not the backspace button but the delete button
You have successfully removed the section break
It’s important to note that since you have now removed the section break, you will have removed the formatting that it had.
I removed the bottom section break first and there is an important reason for this. If you remove the top one, then the section if you will, gets extended to the top of the document and what you have done in the section will be replicated to the above section. In this case what will happen is that you will now have the entire document in two columns which isn’t what we wanted in the first place.
In Summary
Using section breaks is very helpful if you want to split your document up with different formatting options. Removing them can sometimes be a little bit of a pain but if you follow the steps here, I’m sure you will come to no harm. Remember, there is always undo. I hope you have found this post helpful and I look forward to hearing your comments about it. Good Luck!