Quick parts in Microsoft Word are, when used properly, a real timesaver. Let’s learn what they are, how they are used, and how you can use them to save time when you are using the same text over and over again.
What is a Quick Part in Word?
A quick part is simply something, be it an image, text, table, anything or a combination of them all that you save and then can insert into any document that you want. For example, if you have standardized documents that have to have a header, a footer, an introduction, disclaimer or anything else you can use quick parts that you just insert into the document wherever they are required. This saves you time and effort, especially when such things are long or combine a number of different items such as images, tables and wordy text.
How To Create a Quick Part in Word
Now that we know what Quick parts are, let’s create one so we know how to use it. For the purpose of this example let’s create a Quick part that contains the following:
A table
A Date
A signature
An image
A Disclaimer
As you can see, this is something that normally takes about 10 minutes to correctly set up. What we want to do is to have it on every document wherever the author wants it.
Here Are the Steps to Create Your Quick Part
Highlight the text/items that you want to create your Quick Part from.
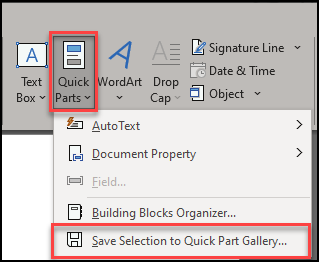
Navigate to the Insert tab on the ribbon and then select Quick Parts.
Click Save Selection to Quick Parts Gallery.
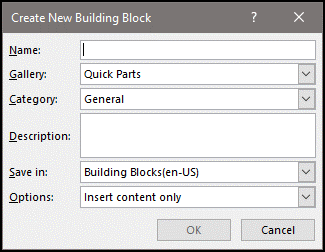
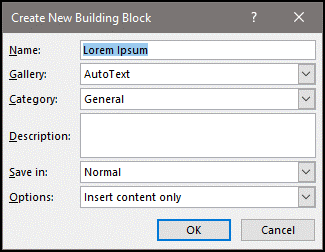
The Create New Building Block screen appears:
Give it a name and description. If you are going to be creating a large number of Quick Parts, then it’s worthwhile adding a new category as well. Regarding the other cells, let’s leave them for now. I’m going to call this Quick Part Date Author.
Click OK.
Your new building block has now been created.
How to Add Your New Quick Part to Your Document
Now that you have created your Quick Part, you can add it anywhere you want in your document.
To add your new Quick Part, do the following:
Navigate to where you want to add your Quick Part with the curser.
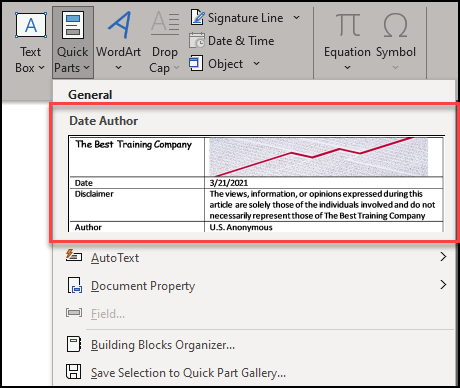
On the Insert tab on the ribbon, click on Quick Parts. You will see the Quick part that you have added.
Click on it
Your Quick Part appears in the document where your curser is.
It really is as easy as that. If you want to edit anything in the Quick Part you can do so as it is just like anything else you add in a Word document.
Saving Quick Parts in Word
It’s important to note that since you are creating something else apart from a document, you have to save it as well. What this means is that when you exit Word, you are shown a dialog box:
It’s very important that you select Save on this dialog box. If you don’t, then your Quick Part will not be saved and although it won’t get erased from the document that you have been working on, it will not be available on a new document since it isn’t actually saved.
How to Edit a Quick Part in Word
If you need to edit your Quick Part in Word for any reason follow these steps:
Add the original Quick Part to anywhere on your document. In our example, I’m going to change the Author name to David Phillips.
Go through the steps above to create a new Quick Part.
When you get to naming it, ensure that you name it exactly the same way as you did the first time. You should get the following dialog box:
You have edited the Quick Part.
If you didn’t get the dialog box then you can remove the one you don’t want manually with the following:
To Delete a Quick Part
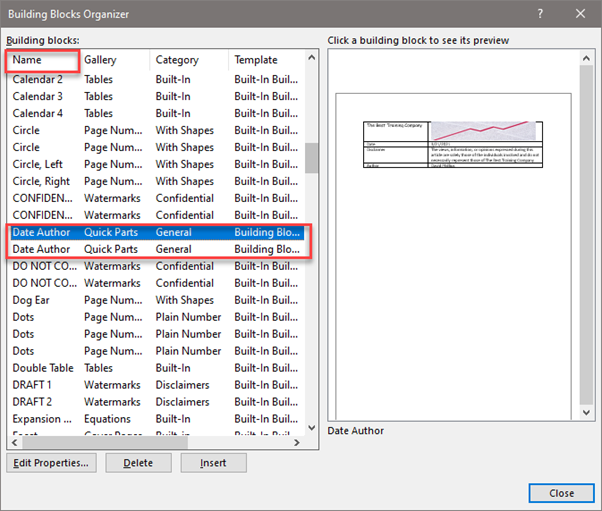
Select the Building Blocks Organizer in the Insert tab of the ribbon.
You will see the following Dialog box:
Click on Name to make your entries in alphabetical order and then find the Quick Part you want to delete. In this case, the second Quick Part I created had an extra space after the word Author so it saved it in a new entry and didn’t overwrite it.
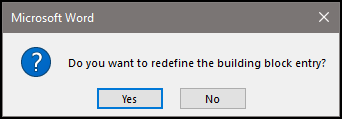
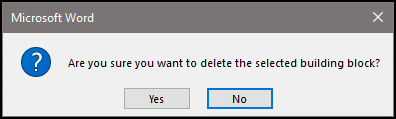
Click on Delete and you will see the following Dialog box.
Select Yes and your old Quick Part is removed.
Quick Parts or Building Blocks
I’m sure that you noticed that when you saved the Quick Part, you were taken to a screen that said Building block. It’s important to understand a little about the difference between Building Blocks and Quick Parts.
Microsoft Word has lots and lots of functions – bits of code telling it to do this or that. Many of them can be manipulated by you. Adding text, table, styles, and lots of other things besides are governed by things called Building Blocks. When you create a Quick Part, in truth you are actually creating a new Building Block. Quick Parts are just a type of Building Blocks and that is why you will see them referred to as Building Blocks and not just as Quick Parts. It may just be semantics but it’s a good bit of knowledge to file away for the future.
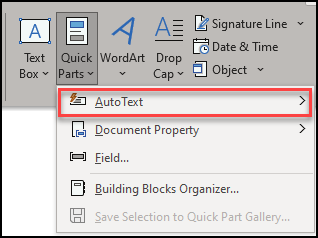
What Is the Difference between Auto Text and Quick Parts?
I’m sure that you’ve noticed that in the Quick Parts Button menu there is an option for Auto Text.
The difference between the two is fairly simple. Whereas Quick Parts can be complex, Auto Text cannot be and it can only be text.
For example if you want to have a bunch of text appear when you type a certain phrase, using Auto Text will accomplish this goal. This is only going to work for actual text. With Auto Text you won’t be able to create anything more complex than just text.
In our example above, we would not be able to create something like that with Auto Text. It has to be a Quick Part.
How Do I Use Auto Text in Word?
In order to set up and use Auto Text in Word do the following:
Create some text that you want to have, this can be a paragraph, sentence or something similar. I’m going to use the following excerpt from Lorem Ipsum:
Lorem Ipsum is simply dummy text of the printing and typesetting industry. Lorem Ipsum has been the industry’s standard dummy text ever since the 1500s, when an unknown printer took a galley of type and scrambled it to make a type specimen book. It has survived not only five centuries, but also the leap into electronic typesetting, remaining essentially unchanged. It was popularized in the 1960s with the release of Letraset sheets containing Lorem Ipsum passages, and more recently with desktop publishing software like Aldus PageMaker including versions of Lorem Ipsum.
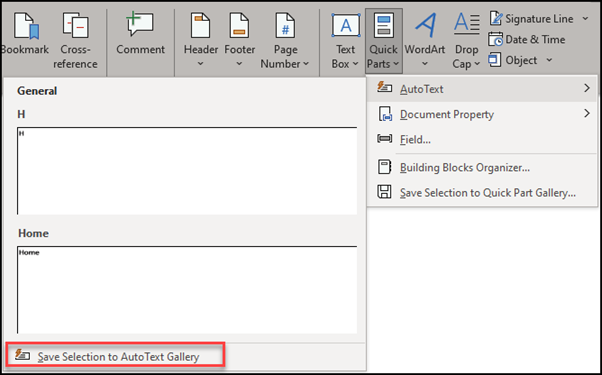
Highlight the text that you want to create an Auto Text for.
Click on Save Selection to Auto Text Gallery.
On the following screen, enter in the pertinent information so that you’ll remember what you called this Auto Text:
Press OK and your new Auto Text building block has been created.
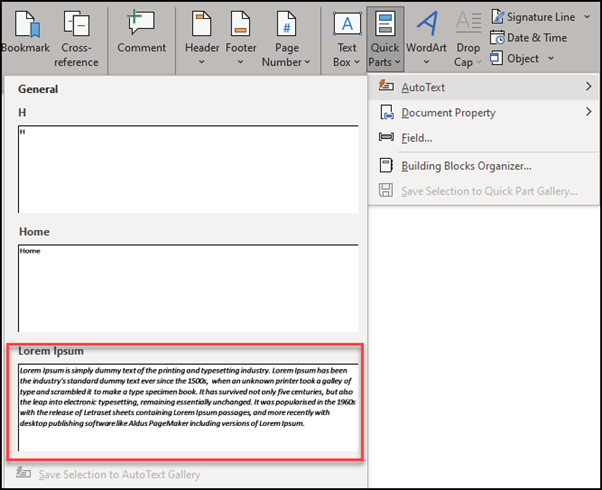
To add it anywhere you want to in your document simply navigate to the Quick Parts menu and select the Auto Text that you have just created:
And it’s as simple as that!
In Summary
Knowing how to create a quick part in word is a really useful time saving skill, especially when it comes to some office documentation that just keeps on needing to be repeated time and time again. Once you know how to add it, and are confident in using quick parts, they are a literal time saver. I hope you have enjoyed this post. If you have any questions or comments, let me know in the comments section below. Good luck!