Tables in Word are used for a variety of different reasons. Whether you want to use them to report some figures, or whether you want to organize your content in a super clear way, tables in word are the way to go. However, there are some important things that you can change in a table in word in order to really give it the punch that you are after. Let’s learn about the different options that are available to you.

How to Insert a Table in Word
The quickest way to insert a table in word is to use the mouse and do the following:
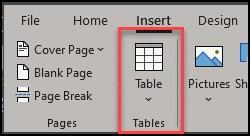
- Navigate to the Insert tab on the Ribbon
- Click on the Table icon
- Select the table size that you want
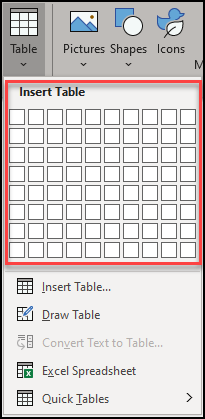
- If you need something bigger than you can see on the drop down, select the Insert Table option.
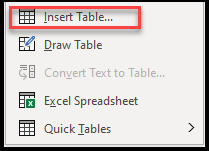
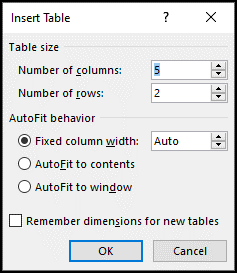
- In the pop up box that appears choose the number of cells you want in your table.
And that is the simplest way to add a table to your document.
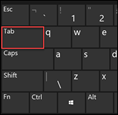
It’s important to note that this is just a starting point. To be honest, as soon as you have a table, even a small you can add as many rows and columns as you want from within the table itself. What I personally like to do with such tables is to make sure that I have enough columns for the table but only have a few rows. As you fill in the information to your table and want to get to the next cell, simply press the Tab button on your keyboard and this move you to the next cell.
When you get to the last cell, hit Tab again and a new row will be created under your previous one, making the table bigger and adding the new row to it.
Basic Styles – Do You Want a Border in Your Table?
Now that you have the basic table, you will want to choose a design for it. As we already know, the styles of document can be uniform throughout it ensuring that everything has the same look. And I’m sure you’ll want to do that for your table as well. However, before we go through the different color and shading options, let’s first of all see if you even want that or perhaps a simple black and white table is what you are after.
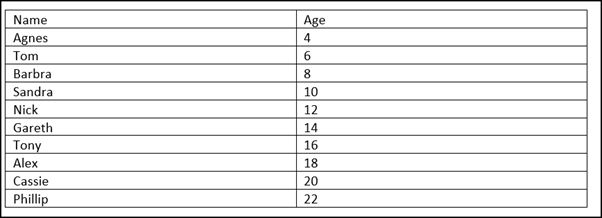
This is what we are starting with and let’s see what we can do to it:
To Add a Border to Your Table Method #1
- Click somewhere in the table. This will allow you to select the tab specific to the table. You will notice that when you click on the table as opposed to the normal text, you will see two new options appear.

- On the ribbon, click on the Table Design tab
- Highlight the table by clicking on the little crosshairs on the top left corner of your table:
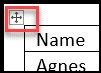
- This will highlight the contents of the table.
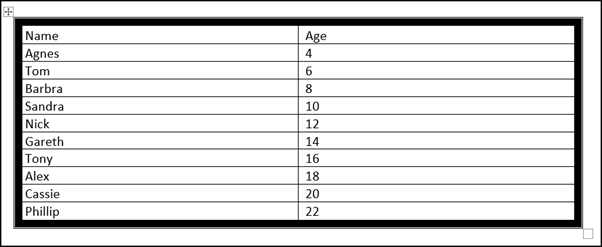
Since all we want to do at the moment is add a border to the table what we are going to aim for is something like this:
- Navigate to the Borders box and select the Border Style you want.
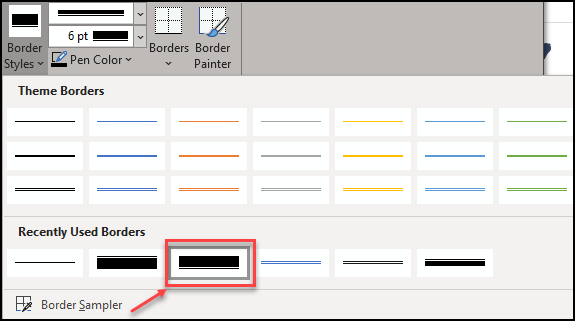
- Select Borders and then click on Outside Borders.
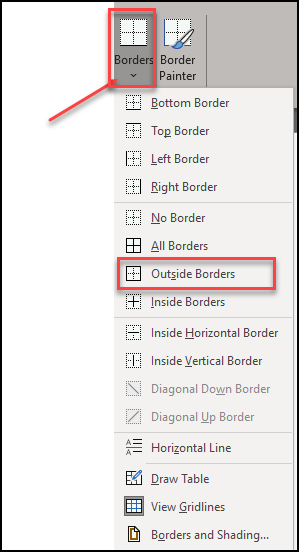
- As you hover the mouse over the Outside Borders option you will notice that a preview is already on your table.
- You have successfully changed the border of your table.
To Add a Border to Your Table Method #2
Even though the above way is what I recommend, you may find that when you mouse your mouse around on the screen you see the Border Painter curser instead of the normal flashing line:

In this case there is nothing to worry about as well. You can either retrace your steps and ensure that you click Border Styles and then Borders OR you can use the Border Painter.
In order to use the border painter simply click where you want your chosen border to be. Simply click and hold across the horizontal and vertical lines where you want the border to be. It’s important to note that you can only do one direction at a time. If you try to do both a horizontal and vertical line with the same mouse click you will see something like this:
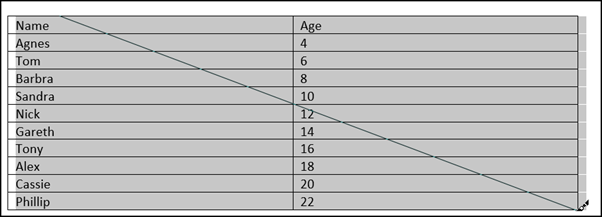
For our purposes means nothing other than that it won’t work.
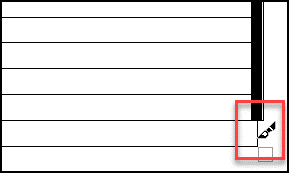
If you let go of the click during the border adding you will see that only the ones that you have already clicked are changed. Don’t worry, simply continue and carry on clicking until you have completed the whole thing:
How to Change the Table Style in Word
Even though the above method is good and if you want something specific is definitely the way to go, it’s much easier to use one of the pre-loaded styles that Microsoft Word offers.
Once you have your data in a table format, just go through the different styles on offer in the Table Design tab on the ribbon to see which one you’d like to use.
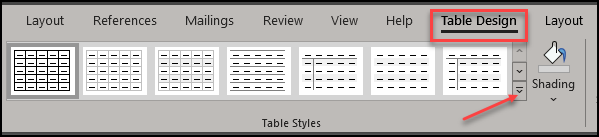
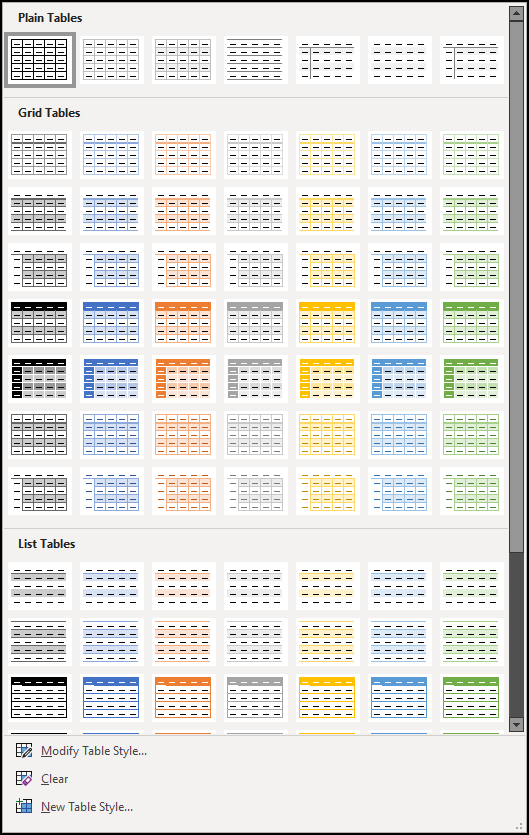
Aside from the ones that you can see in this image above, by clicking on the see more button you will see even more styles. There are loads to choose from and by hovering over each of them you can see how they will actually look on your table:
Editing Table FAQs
Below are a number of popular questions about tables:
How Can I Edit Text in a Table in Word?
The simplest way to edit text in a table is to navigate to it. There is a popular misconception in Word that once the data is in a table, it isn’t really text anymore. This is simply not true. A cell in a table is the same as a section in a document. You can use any style, font and size in a table cell and a different one in the next one along.
How Can I Insert a Line in a Table in Word?
In order to insert a line in a table in word, simply do the following:
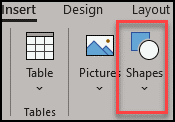
- Navigate to the Insert tab in the Ribbon.
- Click on the Shapes button:
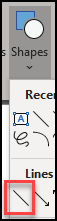
- Select the line option and draw the line that you want:
- Click on the shape and then, in the Layout Options select the In Front of Text Option:
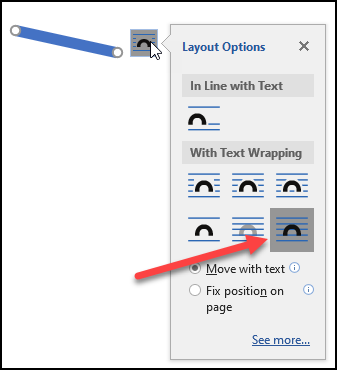
- You can now move the line wherever you want in the table and it won’t get hampered by the text limitations.
How to Insert Formula in Word Table
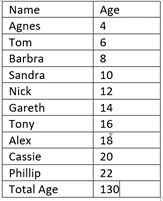
There are many times that you may want to perform a calculation with the contents of the table. Whilst in most cases it’s recommended to use excel for such functions, nevertheless, you can perform simple additions and other sums in word. Let’s take our table for example and say that we want to know the combined age of all the people.
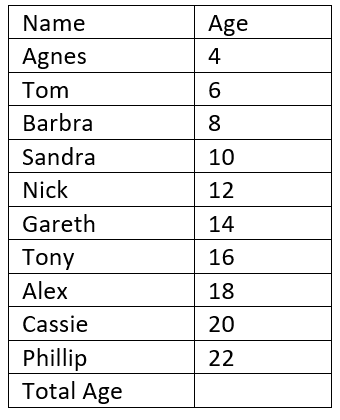
As you can see, I have added the total age cell to our table.
To add the formula in the table do the following:
- Put the curser in the cell where you want the calculation to be performed.
- Navigate to the Layout tab and select the Formula button.

- You will see the following screen:
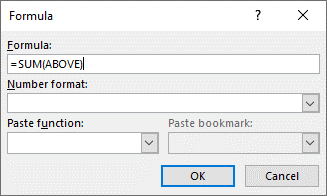
- Look at the formula. It is fairly straightforward and says that: In the cell that you have selected, calculate the numbers that are above it.
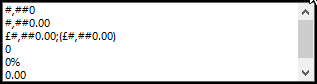
- Select the Number format that you need. In our case we need to select the 0 as there are no commas and we don’t want a percentage or decimal.
- And hey presto:
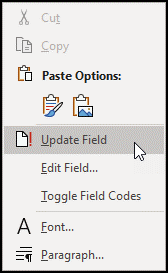
- If you change anything in the table the formula you can recalculate the total, and you do this by right clicking on the cell and selecting Update Field from the options. This will update the total according to the new amounts.
In Summary
I think I’ve pretty much covered everything there is to know about how to change the table style in Word. However, if something is unclear, or you need something specific, don’t hesitate and let me know in the comments below or shoot me a message.