Let’s take your editing skills to a whole new level by learning about the different document styles in Microsoft Word. Consistency is the key here and what you want to do is to ensure that your document has consistent formatting throughout. So let’s learn about how to change a document style, how to create a new style and how to use them in your Word document.
What Are Document Styles?
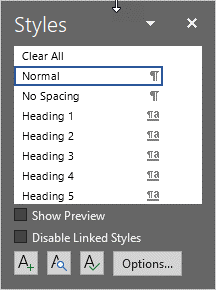
If you look in the Home tab on the ribbon, you will notice that one section takes up almost the entire space – the Styles section:
In a sense, these styles replace what you may have been taught years ago. Font used to be king, now Styles are. They are used to almost “section off” chunks of text. From titles, headings, paragraphs and other sections, what Styles are used for is to format these sections so they all are the same.
Why Should You Use Them?
There are a number of reasons why you should be using document Styles and I will list them below:
Ensuring consistency throughout the document.
Making editing easier.
Planning a document more easily.
More than anything, once you get used to using Styles in Word, you will realize that they are the way to go. They just make editing and customizing a document easy and actually a pleasure to work with.
Let’s start with the Heading Styles:
How to Use Heading Styles in Word
There are three or four main headings that are generally used in Word. (Title), Heading 1, Heading 2, and Heading 3.
Title: This is used only once and only in specific documents and as it says, it is a title, the top of a document.
Heading 1: This is used as the beginning of a document or every big section of a large document such as a thesis that goes on for pages and pages.
Heading 2: This is used as the title of paragraphs. These are the most typical headings that you will find.
Heading 3: These are subheadings that are used to accentuate a point in the paragraph.
If for example you are discussing styles the structure would be something like: H1 – All about Styles, H2: How to Change a Style, H3: Alternate method of changing a style.
How To Access the Different Heading Styles
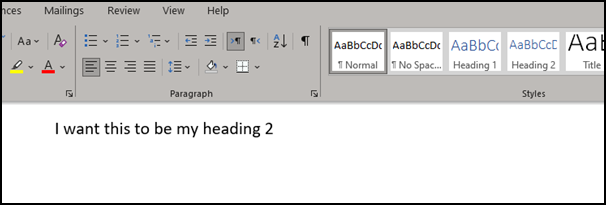
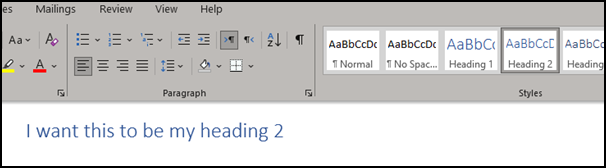
In order to access the different heading styles the first thing I suggest to do is put your curser in the text you want to be a heading – don’t highlight it, and then press the Heading button that you want:
This will change the text to heading 2:
As you can see, in the top image the Normal box is selected and in the second image it is the Heading 2 that is. And you can see the difference between the two texts.
How to Edit a Heading Style
Before I go into how to edit styles, I want to show you a different way of editing them and that is by way of the themes in Microsoft Word. I’m not going to go into huge detail here but basically they are various themes that you use to style your entire document a certain way. They ensure a certain level of consistency throughout the document and since there are so many, I wouldn’t really recommend trying to reinvent the wheel unless you have a certain reason why you want the text and headings to be different from an inbuilt theme.
To View the Different Themes
Go to the Design tab on the ribbon and you will see a number of different options with some boxes to give you an idea of the different themes available to you. What I would suggest is to have some text that includes some text and some headings and then click through the different theme buttons to see how each of them look.
I’m pretty sure that you will be able to find what you are looking for without having to customize anything.
The themes are divided into two sections – there is the main theme and then in that theme there are a lot of different sub themes. Almost like a heading 2 and heading 3 ?.
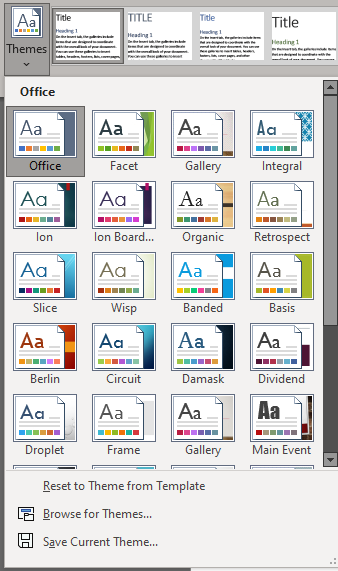
On the left of the screen is the Themes box which you can click on and it contains a number of different themes to choose from:
Each one of these themes has about 18 different sub themes. And of course, for each sub theme there is a different style for the headings, normal, and other text style options.
All in all, there is a lot to choose from so don’t just run into editing a style. There will almost definitely be one that will suit your needs.
How to Change Writing Style in Word
However, if you do want to change something in a style I’m going to show you how to do so now so don’t worry that I’m withholding information. I’m here to help you!
There are two main ways to change the style on a document and we’ll go through both of them. The first method is to format the text you want on the live document and then set it as the style. The second way is to edit the style directly from the style box.
Method #1 – Editing from the Text Itself
Highlight the text that you want to use for a style.
Style it however you want using the Font settings.
Add more styling through the paragraph settings – These can even be bullets, numbering, and anything else that is in that section.
Click off the highlight to check that you have the text just the way you want.
Highlight it again.
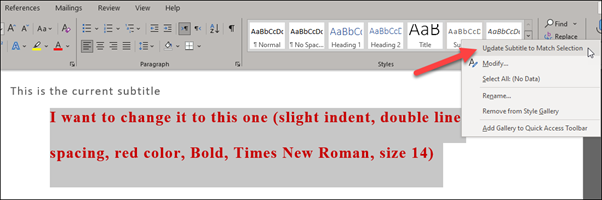
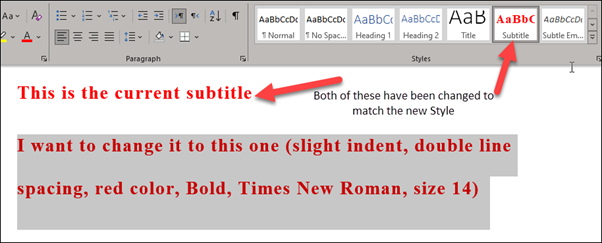
Navigate to the style that you want to change. In this example I want to change the Subtitle style to something else completely.
Right click on the box.
Select Update Subtitle to Match Selection (Please note that the name Subtitle is used just because I’m updating that particular style. If you were changing any other one it would say Update (your chosen style) to Match Selection).
Once you have clicked it you will see that it has been changed:
You have changed the Style.
It’s important to note here both the preview of the style in the box and the previous text that was also in the Subtitle style have been changed. And this is exactly what we want to happen. This is because, as mentioned, the consistency has been kept here.
Method #2 – Editing a Style from within the Style Itself
Right click on the Style you want to edit. (We will do the same again here. Change the style to slight indent, double line spacing, red color, Bold, Times New Roman, size 14).
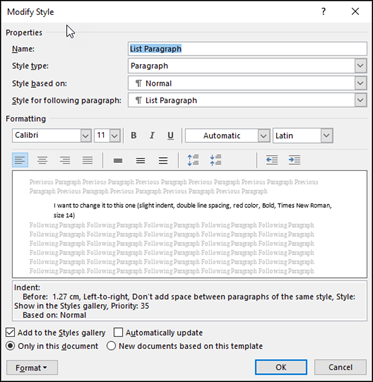
Select Modify and the option box will open.
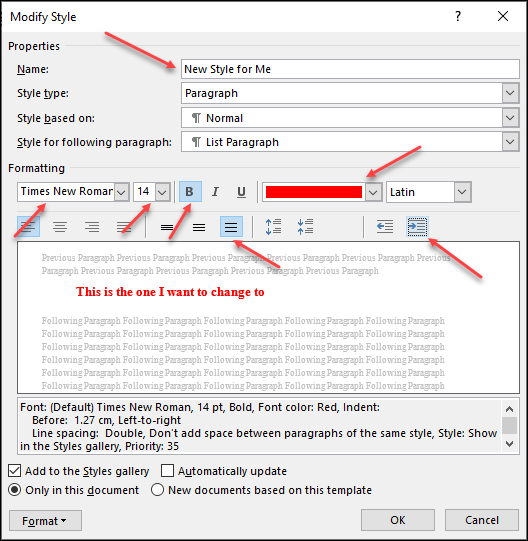
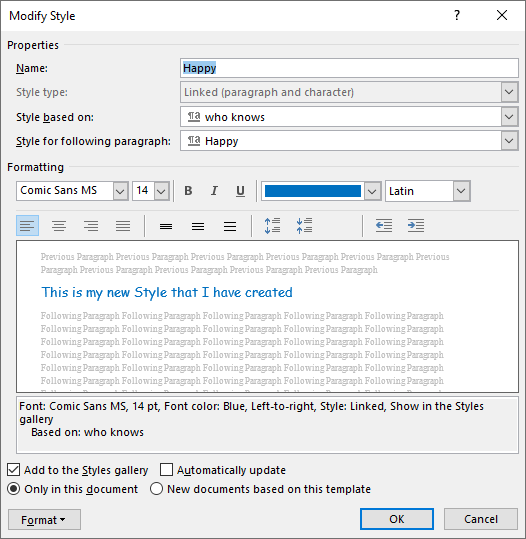
Let’s change the everything here:
As you can see, I’ve changed everything to what I want. In fact, I’ve even changed the name of the style just because I can!
Press OK and you have set up your edited style.
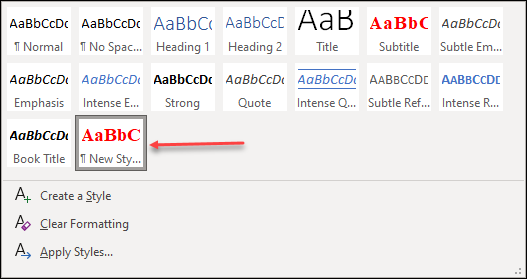
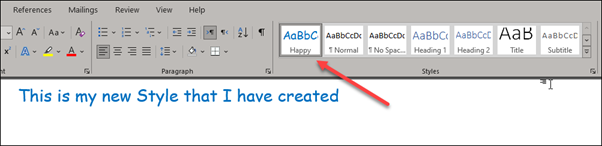
You can view it on your styles bar preview:
And there we have it. It’s pretty easy when you know how. It’s important to play around and don’t worry if something goes wrong. There is always an undo.
Creating a New Style from Scratch
If you want to create a new style from A to Z you can do so of course. Obviously, I’m never going to recommend that because it takes a serious amount of time and I feel that there are so many options on Microsoft Word already that you don’t need go and reinvent the wheel.
Before you go ahead and do so, I suggest checking out what Themes and templates you can find online. You can check them out on Microsoft itself. Even though you may see them as templates, this is just the way they are called as they are answering specific questions. However, when you download them you will notice that all of them have specific styles for the document.
For example, if I download a template called Party invitation flyer and open it, you’ll see that there are only four different styles. There is nothing else here. And if that’s all you need, then this kind of thing is excellent.
However, if you still want to create a style from scratch then use the following steps:
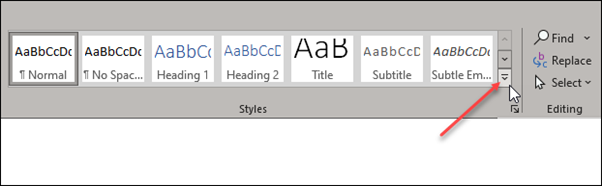
Click on the styles box More option.
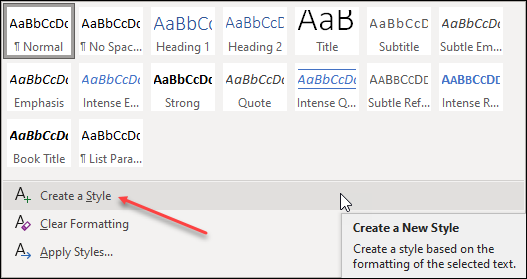
Select the Create a Style option.
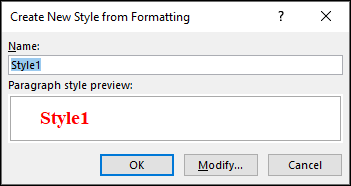
You will get the chance to name your new style:
Give it a name and then click on Modify. This takes you to the Create New Style from Formatting screen that we have met already.
Use the different buttons and options to choose your style and click OK.
You will see the new style in the Styles menu:
Editing the Styles Bar
If you look at the Styles bar, there are a lot of them that I will never ever use. This being the case, I want to remove those ones. So let’s do that:
There are two different ways of doing it and we’ll go through both of them. They do slightly different things so it’s important to have them both at our fingertips.
Method #1 – Directly in the Styles Bar
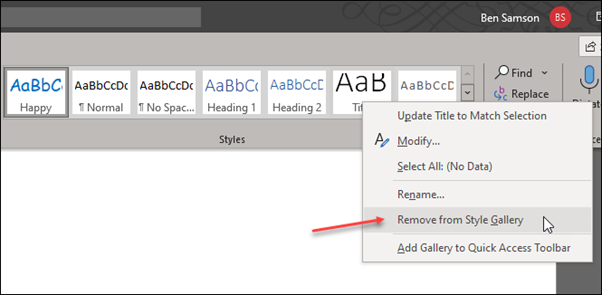
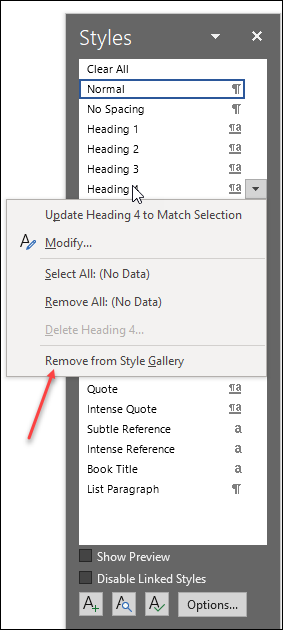
Navigate to the Styles Bar and right click on the one that you don’t want to appear.
Select the option Remove from Style Gallery:
The one that you have chosen is removed and you won’t see it anymore.
Method #2 – From the Styles Menu
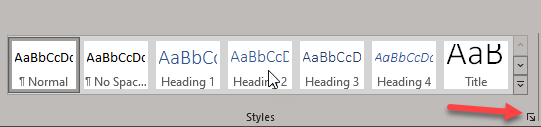
Navigate to the Styles Bar and click the Expand button in the bottom right corner of the section:
You will see this appear somewhere on the page:
Expand it so you see all the different Styles.
Right click on each of them that you don’t want to appear in the actual Styles box and select the Remove from Style Gallery option:
The option will be removed from the gallery.
Please note that this only removes it from the gallery. In the menu that you have open, it will still appear. This is so you can add it another time if you need to.
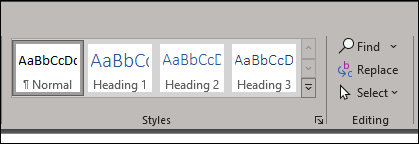
I’m going to remove everything apart from Normal, Heading 1,2 and 3 as that’s all I use and let’s see the result:
As you can see, much neater, much easier to use and it gives me more space in the ribbon for other things that I might use.
In Closing
I hope you have enjoyed learning about the Styles in Microsoft Word. Have a play around with them and let me know what you think of them. I enjoy them and especially the consistency that they give me. Good luck!